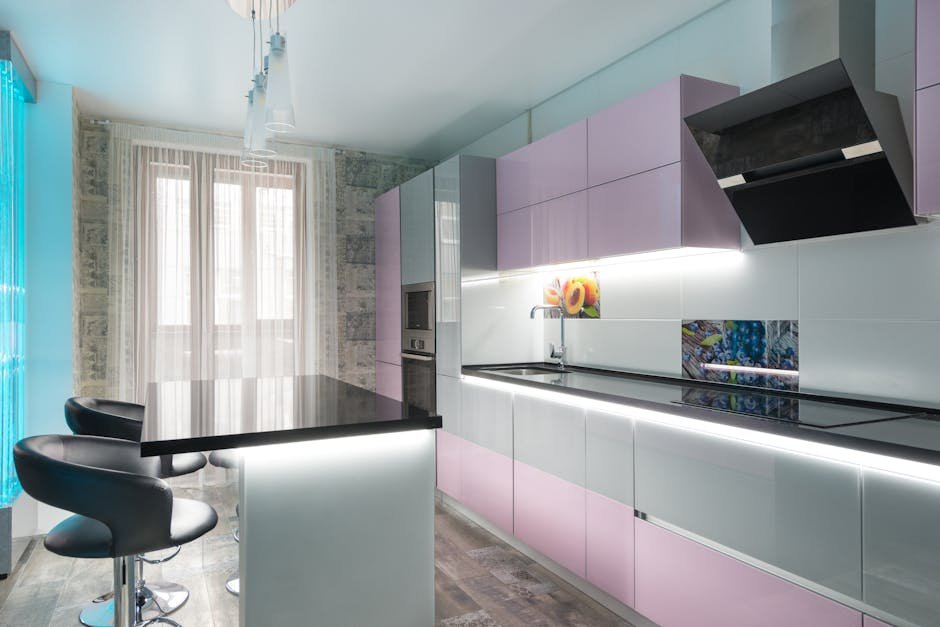
DIY Kitchen Backsplash: Tips and Tricks for a Successful Project
Embarking on a DIY kitchen backsplash project can transform the heart of your home into a stylish and functional space. Whether you're aiming for a sleek modern look or a cozy rustic vibe, the right backsplash can tie everything together. In this guide, we'll explore essential tips and tricks to help you successfully complete your kitchen backsplash project, turning your culinary space into a true masterpiece.
Getting Started: Planning Your DIY Kitchen Backsplash
Before diving into your DIY kitchen backsplash project, it's crucial to plan meticulously. Start by considering the overall design theme of your kitchen. Are you going for a contemporary feel with sleek lines, or do you prefer a more classic, intricate pattern? Your backsplash should complement your countertops and cabinetry while also adding a touch of personality.
Take accurate measurements of the backsplash area to determine the quantity of materials needed. Research different backsplash materials such as ceramic tiles, glass, metal, or even peel-and-stick options to find the perfect fit for your style and budget. Create a detailed timeline for your project, considering factors like drying time and any potential setbacks.
Lastly, gather all the necessary tools and materials before you start. From adhesive and grout to tile cutters and spacers, having everything on hand will streamline the installation process and prevent unnecessary delays. Planning ahead will set the foundation for a smooth and successful kitchen backsplash project.
Choosing the Right Materials for Your Kitchen Backsplash
Selecting the perfect materials for your kitchen backsplash is a crucial step in the project. Consider factors like durability, maintenance, and visual appeal when choosing between different options. Ceramic tiles are a popular choice for their versatility, affordability, and ease of maintenance.
If you're looking to add a touch of luxury to your kitchen, consider glass tiles that reflect light and create an illusion of space. For a more industrial or contemporary look, metal backsplashes can make a striking statement. Peel-and-stick tiles are an excellent option for those seeking a budget-friendly and hassle-free installation.
Don't forget to explore various patterns, colors, and finishes to find the perfect match for your kitchen design. Whether you opt for a subtle monochromatic scheme or a bold mosaic pattern, the right materials can elevate the look of your kitchen and make a lasting impression.
Installation Made Easy: Step-by-Step Guide to Installing Your Kitchen Backsplash
Installing your DIY kitchen backsplash can be a rewarding experience with the right approach. Start by preparing the wall surface by cleaning it thoroughly and ensuring it's smooth and dry. Use a level and marking tools to create a guideline for the installation, ensuring straight lines and accurate placement.
Apply a suitable adhesive to the backsplash area and begin placing your chosen materials following the design you've envisioned. Use spacers to maintain consistent gaps between tiles for a professional finish. Once the tiles are set, apply grout to fill the gaps and give your backsplash a polished look.
After allowing the adhesive and grout to dry as per the manufacturer's instructions, clean the tiles thoroughly to remove any residue. Step back and admire your newly installed kitchen backsplash, knowing that your hard work has paid off in creating a beautiful and functional focal point in your kitchen.
As you venture into creating your DIY kitchen backsplash, remember that the choices you make can enhance both the aesthetic appeal and practicality of your kitchen. With the right materials, proper installation techniques, and a touch of creativity, you can achieve a stunning kitchen backsplash that reflects your personal style and elevates the ambiance of your cooking area.

